HOW TO :: (NOT A HOW TO) Improvise a Quilt

quiltinprogress


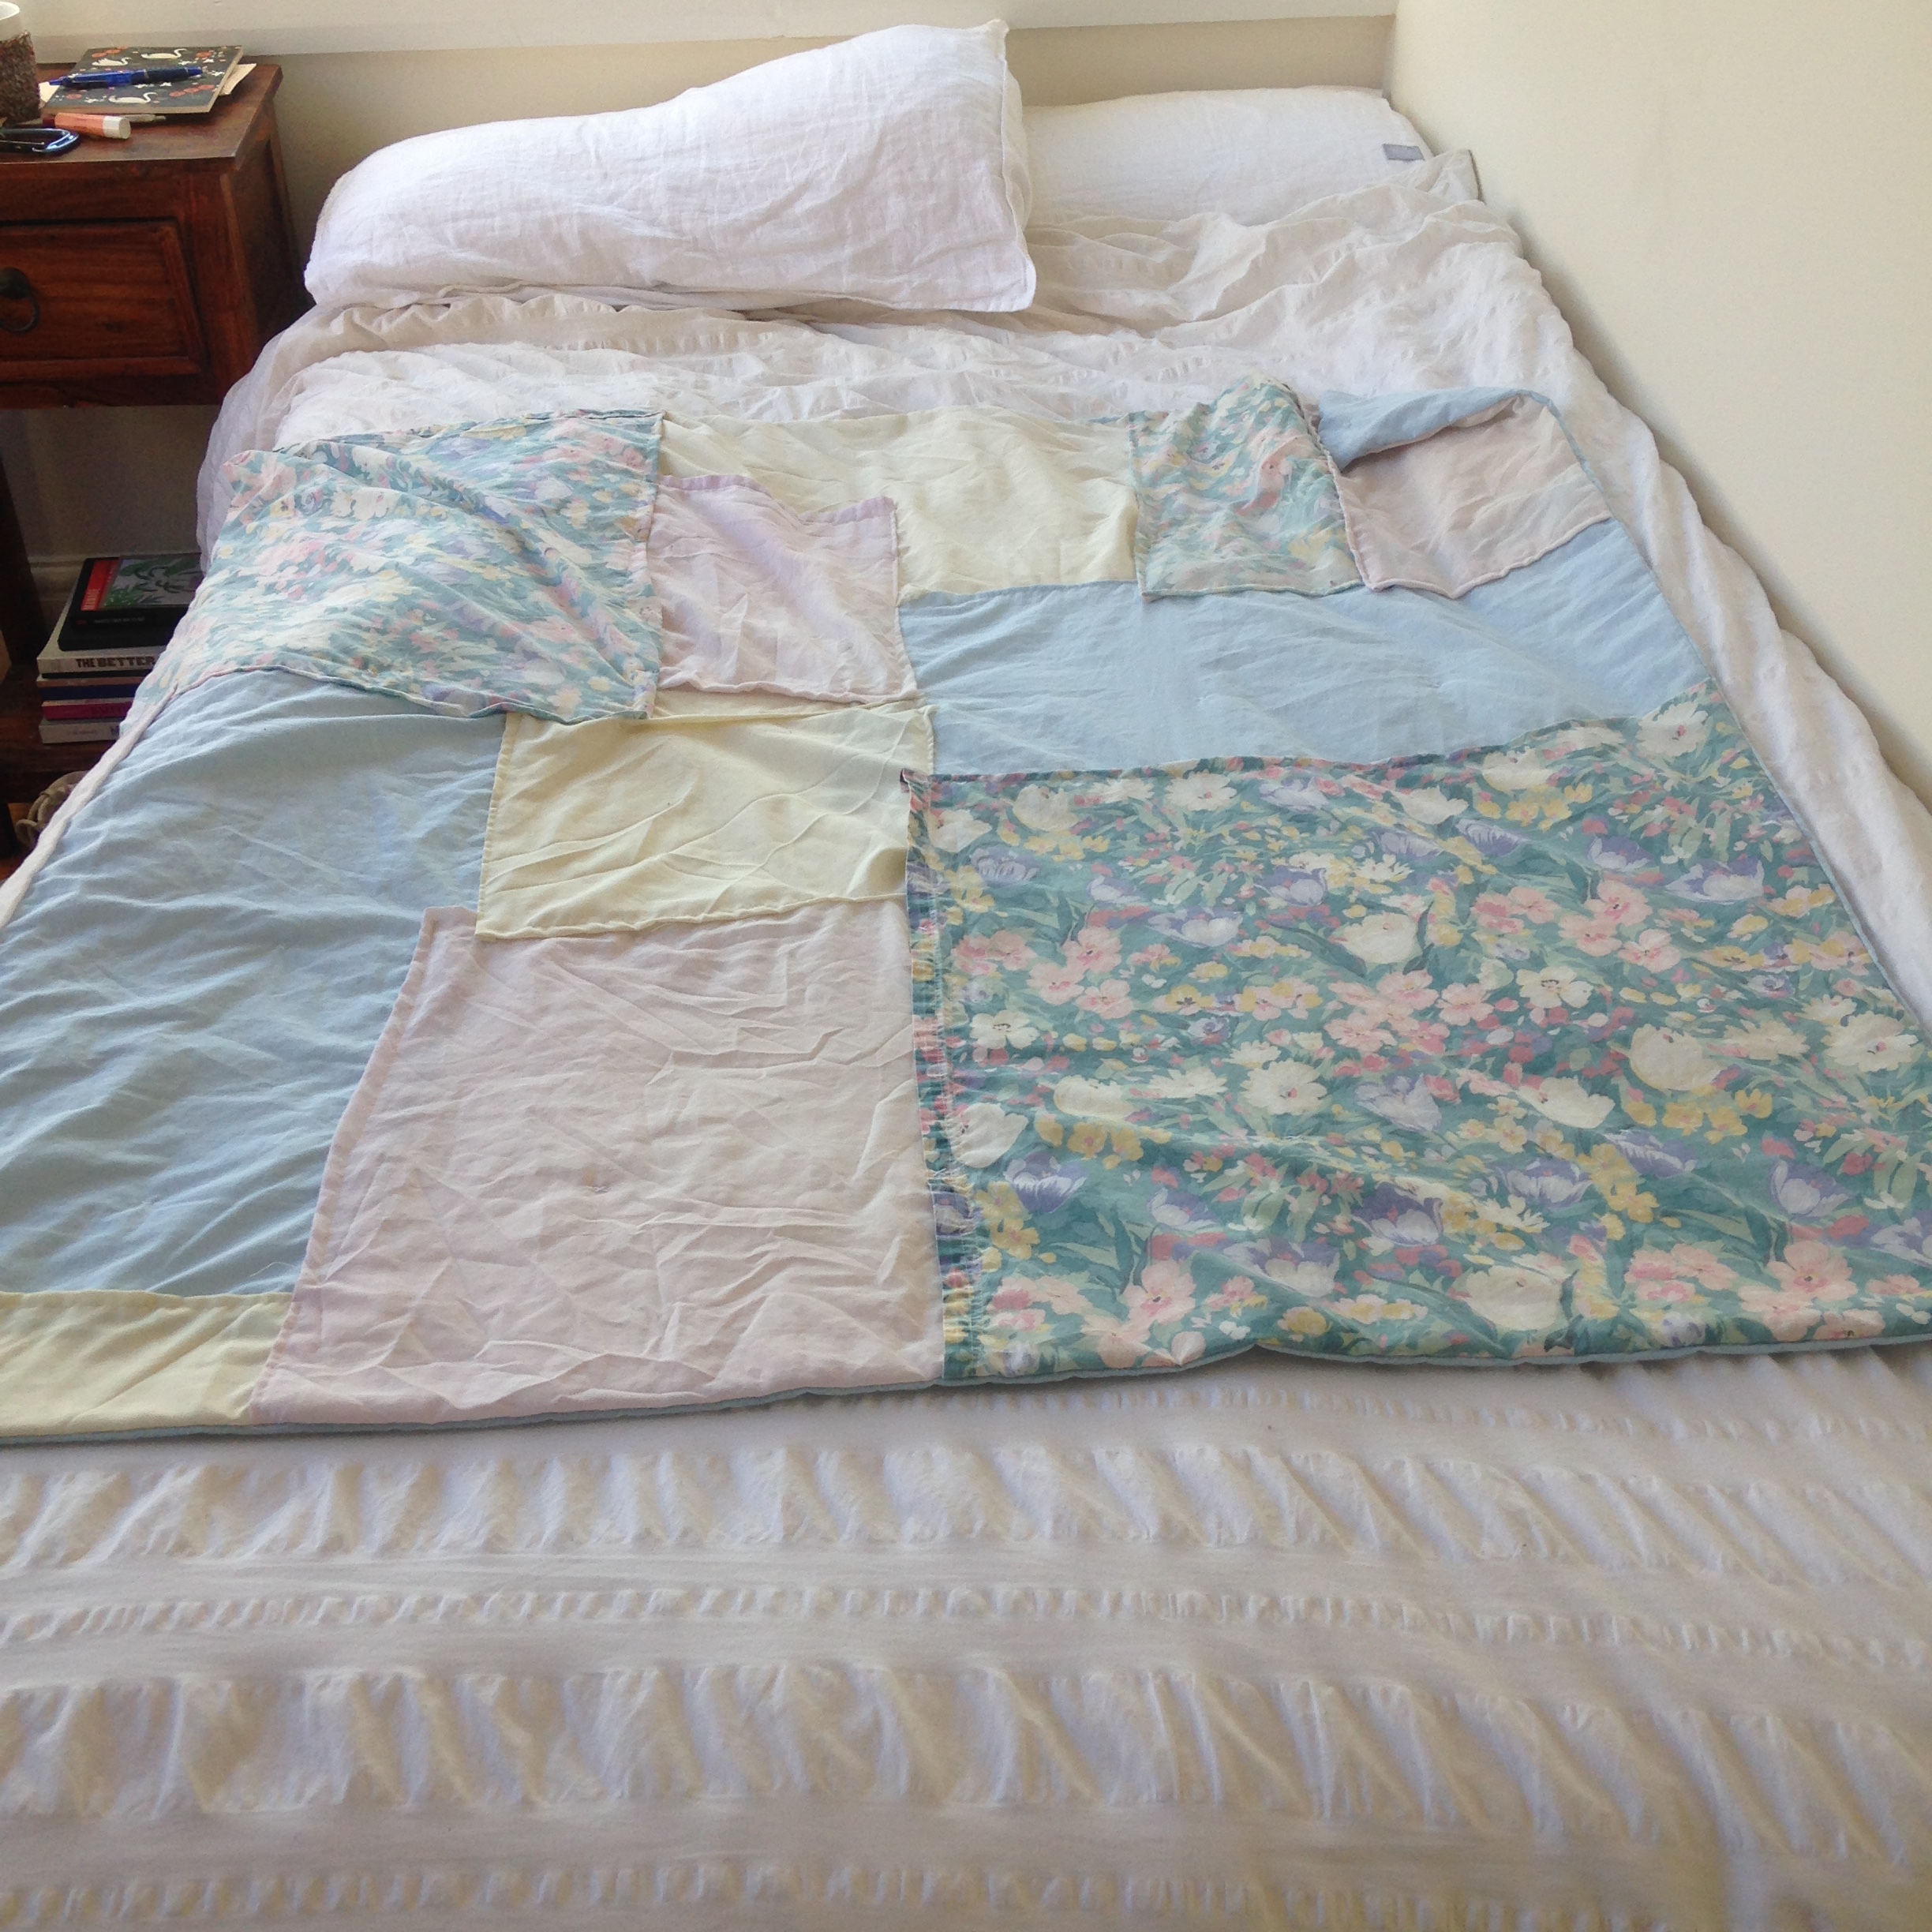
A few weeks ago, I made a quilt. Well, kind of. It's a wonky mess, that's not finished "correctly", but it is technically a "quilt" and I slept with it on my bed last night, and it didn't fall apart, so I'm calling it a quilt.

quilt finished

I went into this whole quilt-making thing not wanting to follow any rules, any tutorials. I was in a mood and I was just not having any of that. I was not about to cut anything straight, measure anything, do any math. I just wanted to make. the. thing. damnit.

Here's what I did:

Step 1. Take a bunch of old sheets and pillowcases - doesn't matter how many, I used 2 pillowcases that were different colours, a big flowery sheet, and a double bed fitted sheet. If, like me, you're using a sheet with elastic in it, rip that shit out. Seriously just make a cut with some scissors and then rip it out. 

Step 2. Rip up your sheets/pillowcases. Doesn't matter the size, or if they match or anything. Maybe keep one that's reasonably big to use as the backing for the quilt. I basically ripped a double bed sheet in half (roughly) to get the backing for my quilt.

Step 3. Lay those ripped up pieces out in front of you and start jigsawing them together. Bonus points if  - like me- you tried to do this on your bed and accidentally pinned through your sheets a lot 

Step 4. Pin your pieces into place once you roughly have the look and size quilt face that you want - it doesn't have to be perfect here, I left a few spots that I filled in later with bits to fit the quilt backing that I'd made. I decided to fold my pieces over so that there weren't raw edges, but raw edges would be cool, too (I guess you'd just have to worry about the seams coming apart after a while) 

HOT TIP (which I learned after I made mine, of course): try using safety pins instead of regular pins when you're pinning your quilt pieces together so that they don't just all fall out when you go try to sew it. 

Step 5. Sew your quilt top! start wherever the hell you want. I know I did. There's probably an easier way to figure out where to start, but I don't know it.

Step 6. If your seams are so wonky that they cause a whole part of your quilt to get all billowy and floppy, just fold that bit over and make it an "accent" - make it work, right? 

Step 7. with right sides facing (this is the only time that a rule matters) sew your quilt backing to your quilt face - now you've got a lil quilt cover-y thing that you can slide some batting into. 

Step 8. Go buy some batting - and maybe measure your quilt before you go - that way you're not wasting money/batting. Bring your batting home. Cut your batting (probably don't try to rip it, that probably wouldn't work out well) to just under the size of your quilt - I didn't measure, I eyeballed. 

Step 9. With your quilt cover thingy right sides out, slide the batting inside. Trim if it doesn't fit inside. I had to. Then once it does (roughly) fit inside, pin it in a couple place so that it stays put.

Step 10. Make some cross marks with pins (or don't) and just start hand sewing little x's every so often to hold the quilt in place. I guess mine ended up somewhere around 10cm apart - but again, screw measuring. 

Step 11. Sew up the top of the quilt either by hand or by machine. 

Step 12. Admire your wonky ass quilt. 

quilt on bed

You've just improvised a quilt! Sorry in advance to all the real quilters who actually know what they're doing - let's just call this thing a "how to that's not really a how to".

xx
What's On My Needles - 24th Dec 2015

Each Week, I'll share a quick (or sometimes not quick) snippet of what I'm currently working on, no matter how small (or rough) it is. 

boyfriend_hat.jpg

This week, I've been making a bit of progress on a Boyfriend Hat - a pattern I've been eyeing on Purl Bee for some time. It's for a friend (for a trade actually! more on that later) so I've gone about it in a methodical way - swatching, measuring, etc. Let me tell you, though, it hasn't been my favourite to knit. You need to cast on 160 stitches, and I had to cast on about 8 times before getting it right. Pro tip: place stitch markers every 20 stitches to save yourself from attempting to count 160 stitches at once, only to get lost several times, and end up with 156 on one count, 161 the next - ya feel me? 

Now, of course, as I'm 6 inches into it, I find a whole slew of critiques of the pattern, from knitters whose opinions I value and trust, like Jen of Grainline Studio, amongst others. Mostly, people have found that the sizing seems off - too big. Fortunately, I cast on a size smaller than I wanted the hat to be, because my gauge is a tiny bit looser than called for, and now that I've read these critiques, I'll stop my hat a bit shorter than written in the pattern before I start the decrease rows. So far, the hat is big on me, but I have a head the size of a pea, so I'm not too concerned. What I do really like about it is the tight 1x1 rib (not to knit, because that's a pain - literally) is how dense the fabric is, and how warm it will be. Makes me feel good to know that I'm knitting up a nice warm hat for a shepherdess! 

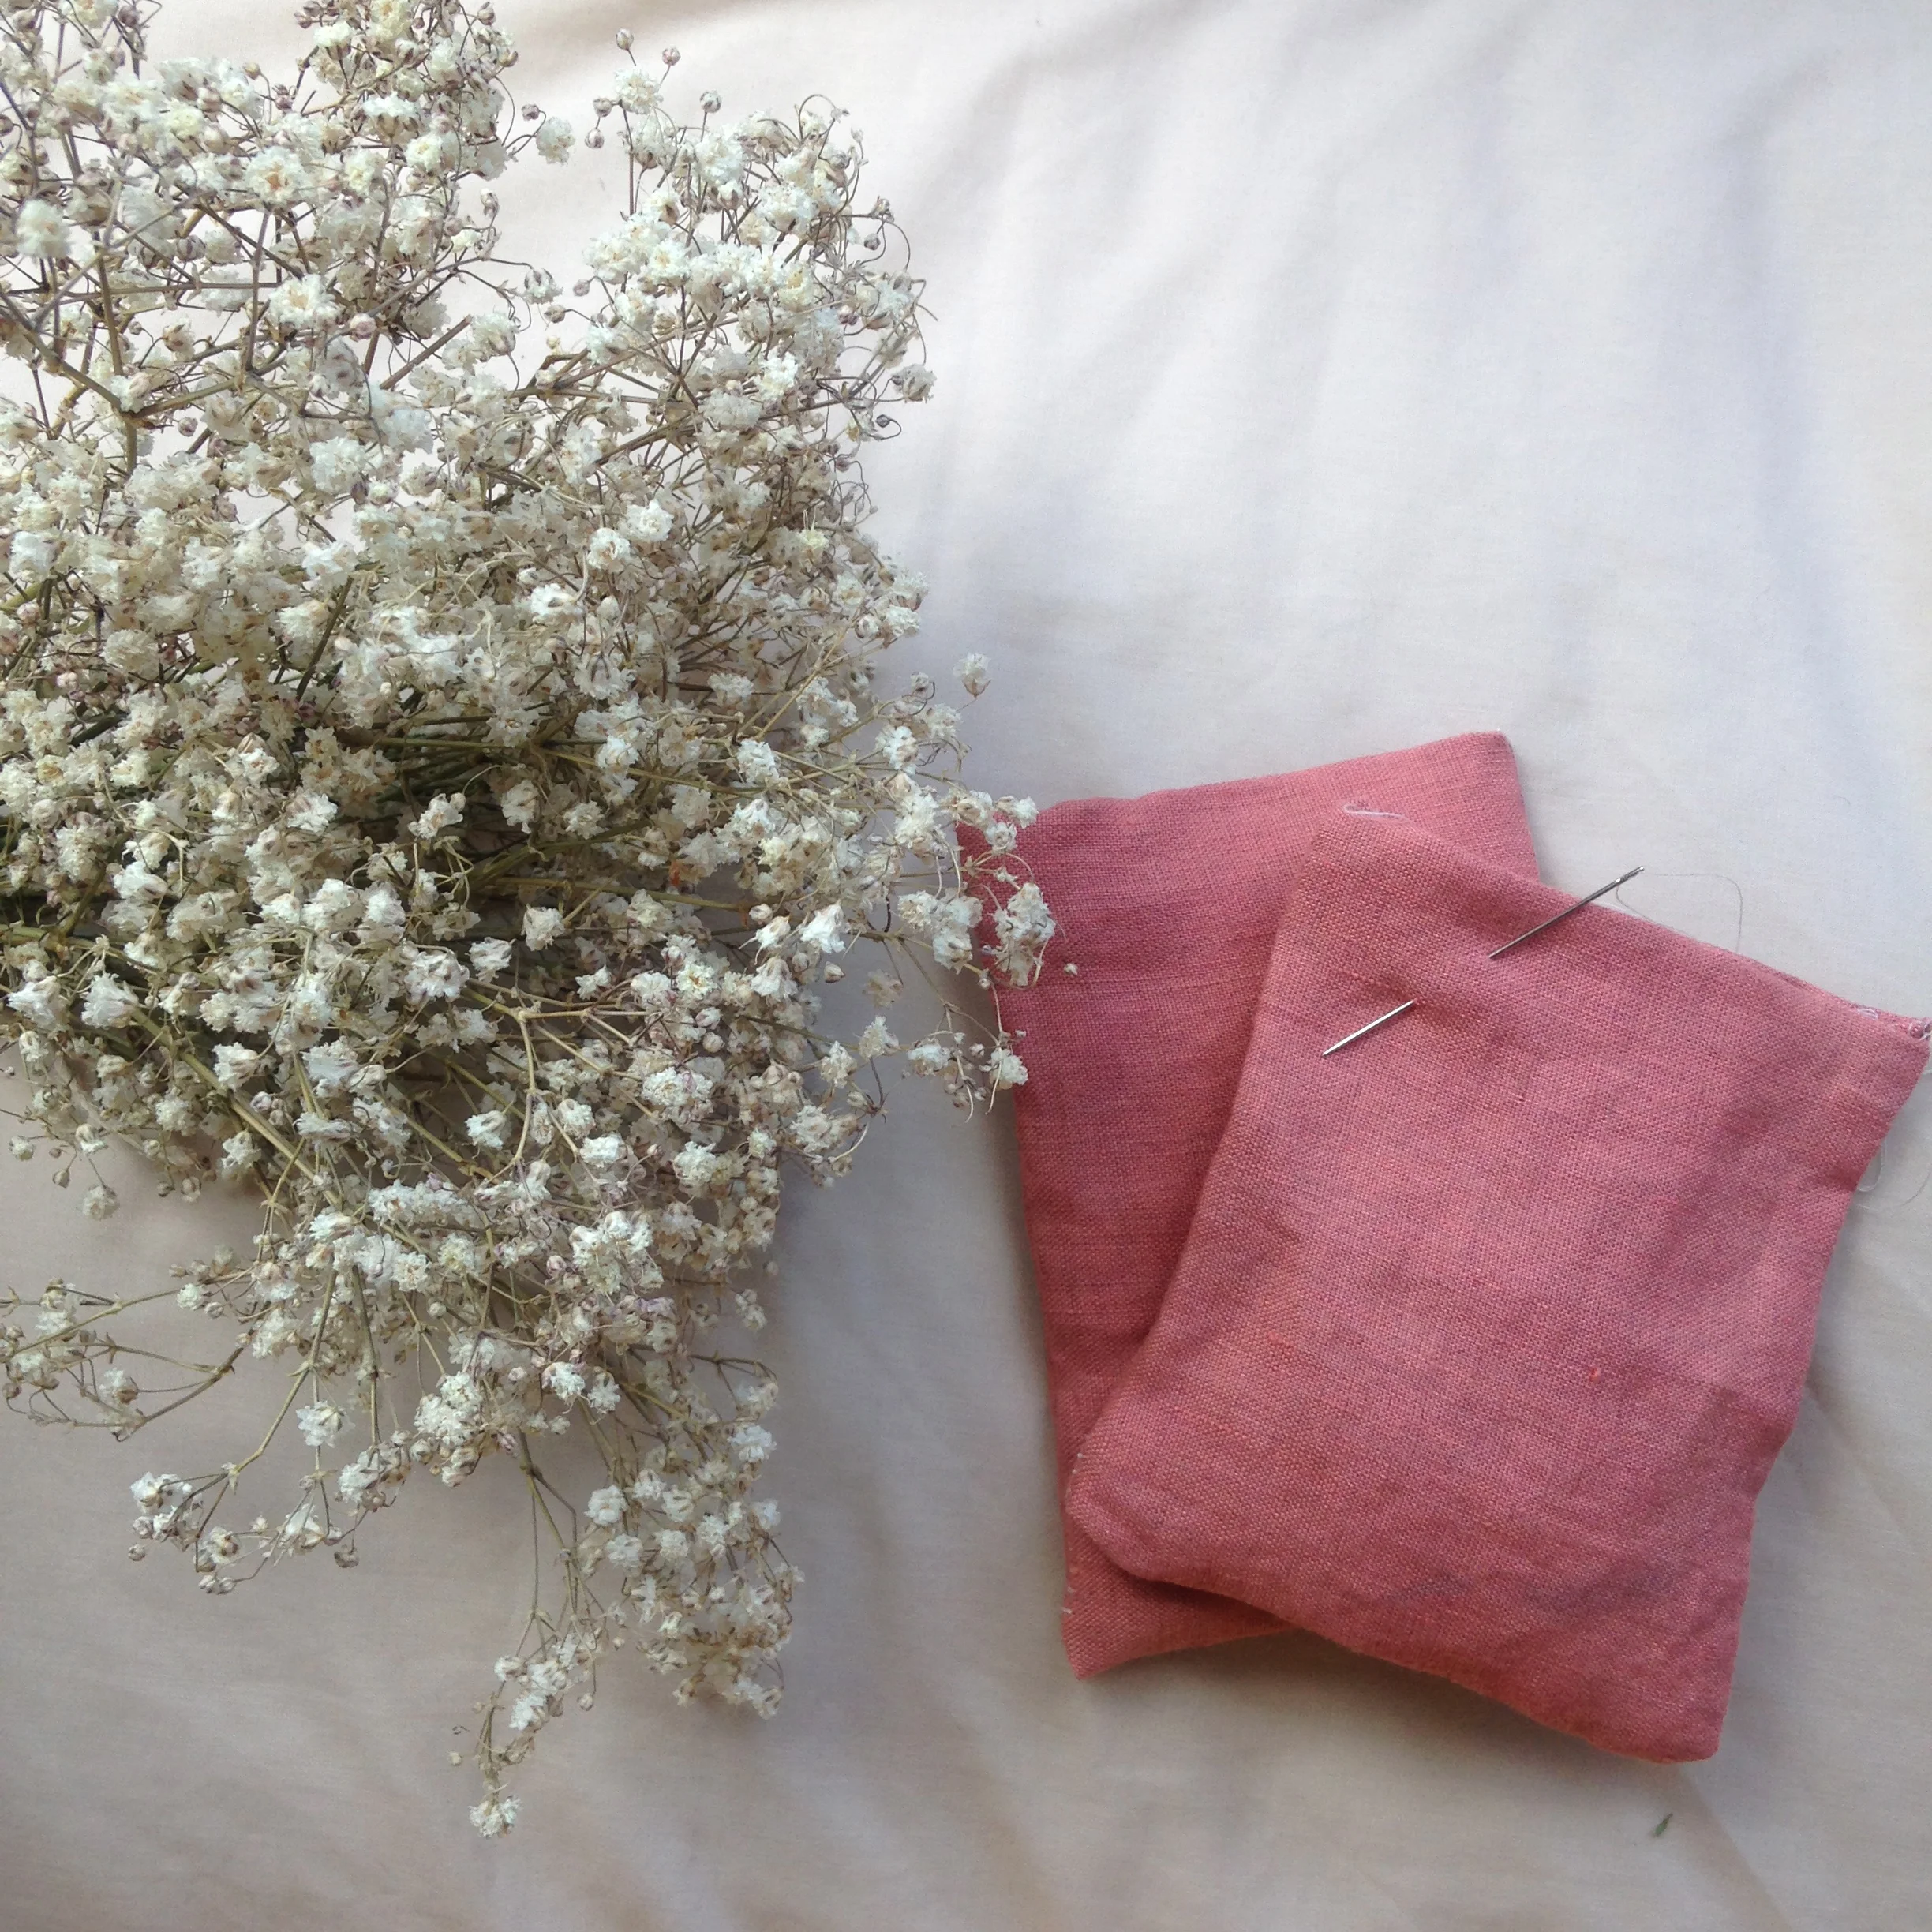
lavender_linen_pillows

Other than the hat I've been working on, I've been doing some non-knitting fibre related things. This year, as gifts for the holidays, I wanted to make things that would be simple, cost-effective, natural, and most importantly, useful for my friends and family. After being gifted some madder root dyed linen by a lovely friend and talented maker living in Perth, and learning about the properties of lavender as a moth repellent, I had a lightbulb moment. So, I set about making some of these sachets, which are simple to make, and have a number of uses - including keeping your clothes smelling fresh, protecting your woolens from moths, or for keeping under your pillow to help you relax and sleep easily. I'm really excited to write up little instructional tags to go with these and give them as holiday gifts to friends.

What's on your needle(s) this holiday season?

xx

What's on My Needles (Or Rather, What Isn't) - 17th Dec 2015

Each Week, I'll share a quick snippet of what I'm currently working on, no matter how small (or rough) it is. 

naturally_dyed_patchwork_pillow

Once again, I find myself with a lack of knitting project progress to share here, mostly because I'm trying to rest my wrists, but also because I've been struggling to motivate myself to knit. Does anyone else find that when they take a hiatus from knitting the urge to knit begins to subside a bit? Maybe that's just me. I find it a bit sad - I love that bizarre urge I have to knit the majority of the time, it makes me feel a bit empty when it's not there. 

Now, to explain this week's "What's On My Needles (Or Rather, What Isn't)"  or alternatively, "What Was Previously on my Needle(s) and Now Is Gone". I started working on this little patchwork pillow thing a couple of weeks ago, rather improvisationally, because I don't know what the hell I'm doing, so I'm just making it up, and I clearly don't have the patience to make a pattern or anything like that. I basically just started sewing pieces together and adding more on as I went, more or less keeping a straight line of fabric at the top and thinking it would roughly be the shape of a pillowcase. 

I decided after doing the bulk of the sewing on a machine, courtesy of the babes over at Bobbin and Ink (the communal sewing space where I rent a machine, and get lots of kind feedback and help, even when I've totally screwed something up), I would do some of the final sewing by hand in the park. So I popped it all in my handy little Field Bag - needles, thread, pins, and headed over to the park. I sewed in the sun with This American Life playing in the background, it was all a very nice affair. 

Now somehow, I woke up yesterday morning and it's nowhere to be found. I scoured my room, scoured the friend's house we went to after dinner that night, nowhere. And I got really bummed out; this little project - a practice of improvisation, trying not to give a f**k that the seams were wonky, a practice in being patient and kind to myself- was abruptly ended. I never got to see it fully formed, as a pillow, never got to show it off as one of my first sewn pieces - "that I hand dyed with avocado pits and skins and other plant materials!" (I hear myself exclaiming that)

At first I just felt sorry for myself, then I began resenting that feeling, that such a simple and silly object could make me sad. It made me think of all the unnecessary want and greed that comes with owning things, the consumerist mindset that I think can even be applied to objects you make yourself. The more I think about it, though, the more I think it's not so much the loss of the object, but of what the pieces represented - the newly formed friendship with Laura, who let me into her home after meeting me once, made me delicious snacks, and let me dye this old ripped up pillowcase with her, the kindness of the ladies at Bobbin and Ink, forever practicing patience with me, even when I've followed none of the sewing rules and made a huge mess, the excitement of a sewn object becoming a part of my "fibre arts" repertoire. The half-finished pillowcase was a representation of many good things that have come into my life recently, of the luck I've had with finding such incredible people, and the gratitude I have for them. 

Maybe the picture here is enough to remember what it meant, maybe the act of writing this out did just that. And maybe, just maybe, some nice fibre artist will find it on the street and give it some much needed love. 

xx

Ani